
Paint

Choose Your Paint
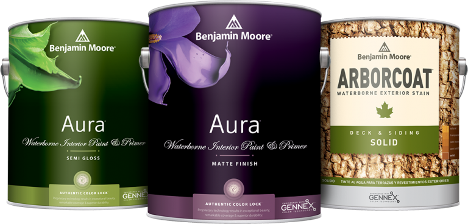
Benjamin Moore
At our Haynes Bridge location, we offer premium Benjamin Moore paint and stain for home interiors and exteriors. Find the perfect paint colors and products for your project.
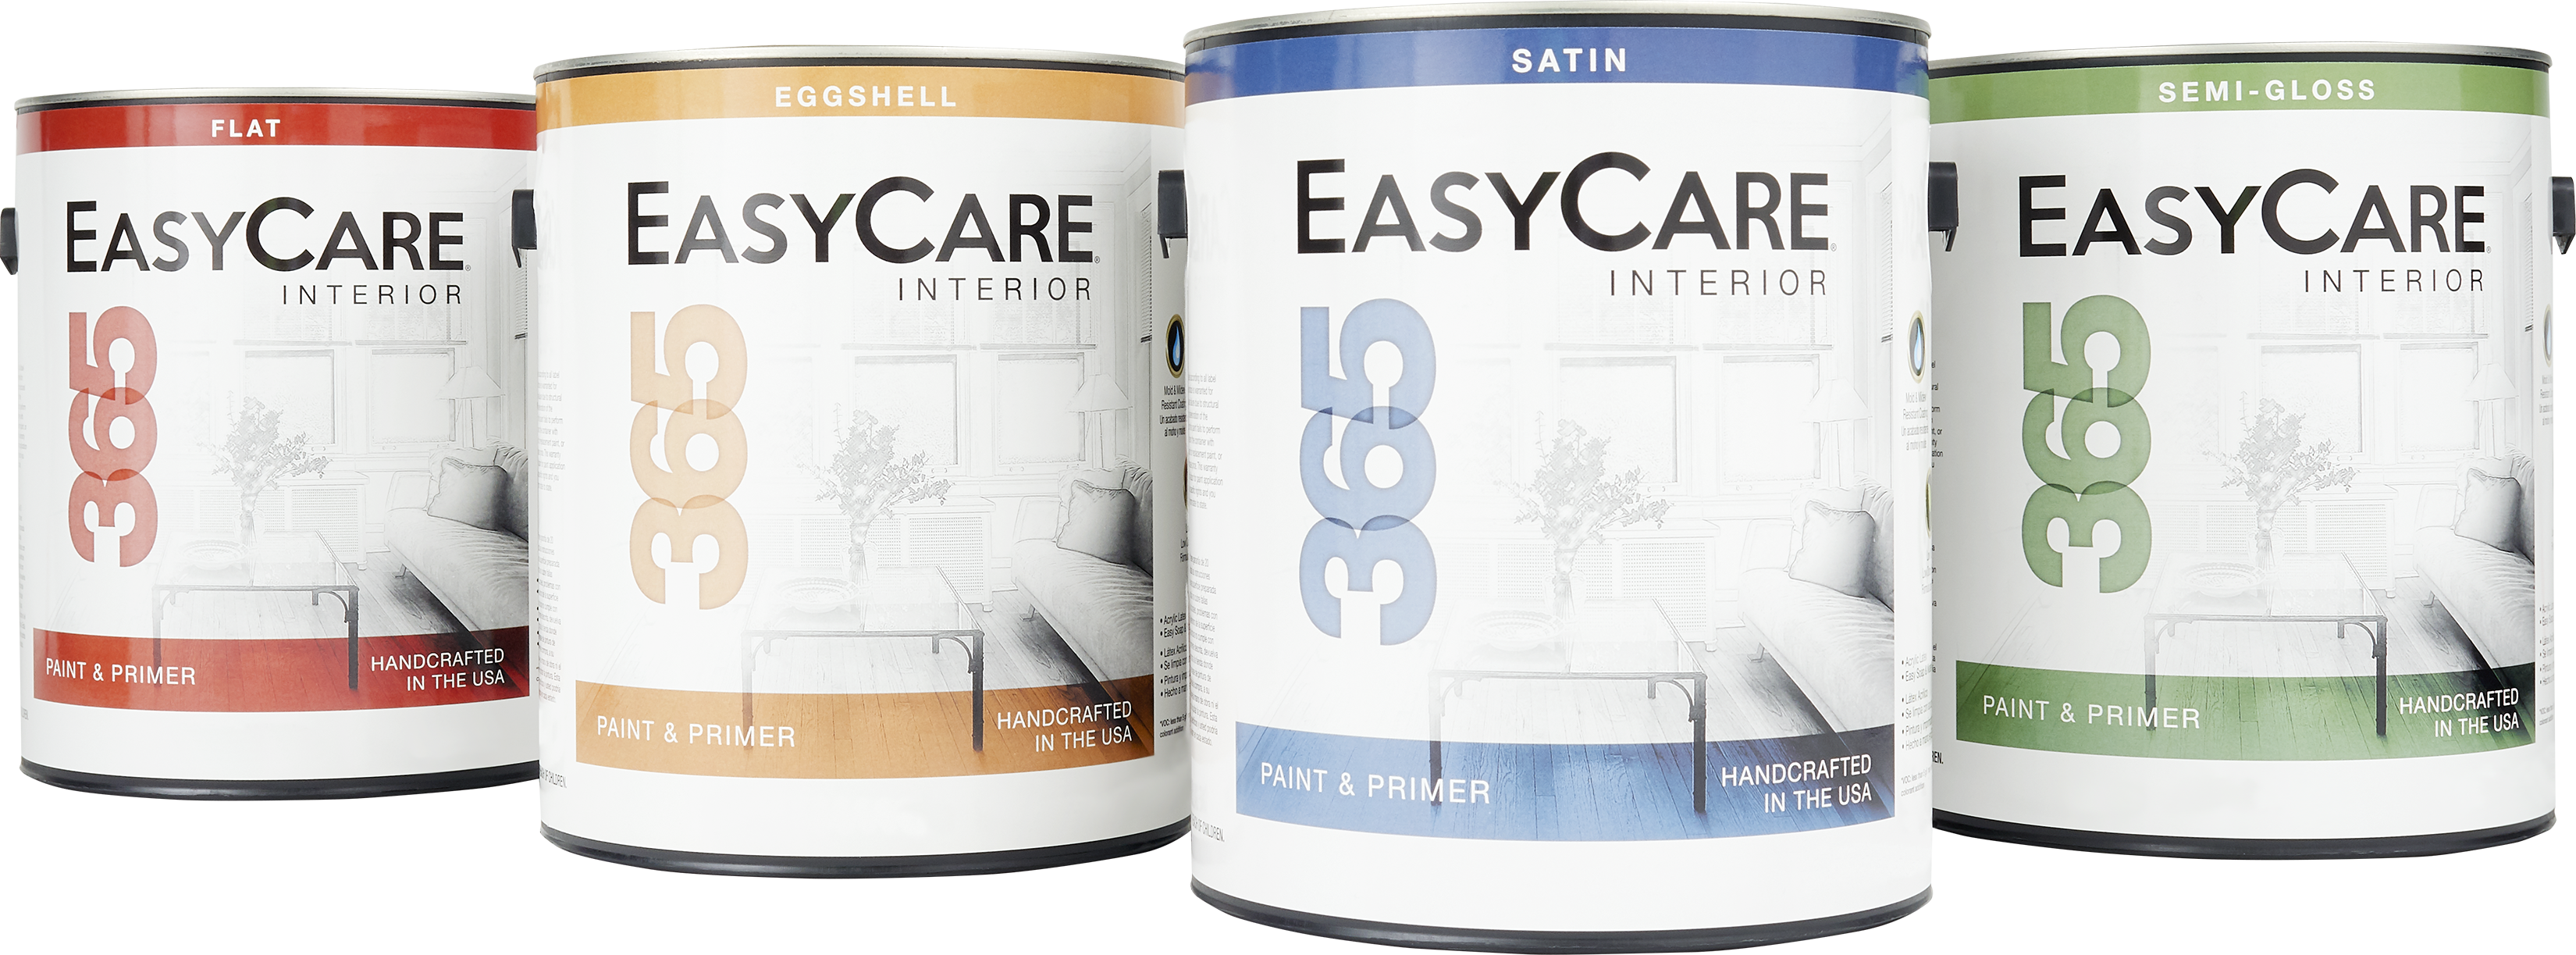
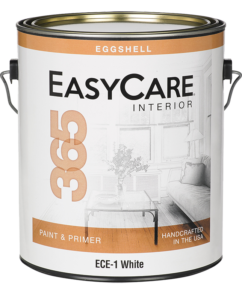
Easy Care
This premium paint-and-primer in one manufactured by True Value® offers superior durability, smooth application, impeccable finish and rich color you deserve.
Our Haynes Bridge Location Offers Benjamin Moore Brand Paints and Colors
Benjamin Moore
The highest-quality interior paint and colors provide excellent coverage for your living room walls, bedroom, kitchen and bathroom.
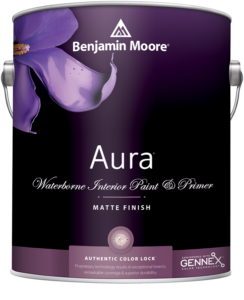
Aura Interior, with our exclusive Color Lock technology, delivers the ultimate performance for brilliant, rich, and everlasting color.
ben Interior is user-friendly paint for flawless results and puts premium color within reach.

Both Urban Hardware Locations Offer True Value Brand Paints and Colors
Inside every can of EasyCare® products is the finest quality interior and exterior paints and stains on which homeowners and professionals alike have come to rely. Every color, every finish and every gallon comes with a lifetime warranty. That means you can count on True Value paints to keep their beautiful finish year after year.
Whether you need help with customized color matching or choosing a paint color combination to create a particular tone in your home, our Color Experts have the solutions.
True Value
Quality True Value paint not only delivers beautiful color, they also provide long-lasting, durable finish backed by our lifetime warranty. Our low-odor formula paint looks great in every room in your home.
Aura Interior, with our exclusive Color Lock technology, delivers the ultimate performance for brilliant, rich, and everlasting color. Voc Less Than 150 Grams Per Liter, Lifetime Warranty.
Easycare 365 Paint & Primer, Mold & Mildew Resistant Coating, Ideal For Walls & Ceilings, Easy Soap & Water Clean Up, Quick Drying/Non Spatter Formula, 20 Year Warranty, Low VOC Less Than 5 Grams Per Litre.
FAQ- Ask the Professionals
How to Choose
Choosing paint colors is often a tough decision. For the most part, the color you choose depends on what goes best with the furniture and décor of the room. Paint isn’t always the focal point for color, and neutral tones are often best. Bolder colors are often good for bathrooms because most bathroom furnishings are white.
- Latex paint: The most commonly used, it is typically durable and generally easy to clean up and does not often blister on walls.
- Oil paint: Oil generally takes longer to dry but is suited for priming real wood moldings and trim, and it seals wood stains and knots. Oil-based primers can be used first and painted over with a latex coating.
- Semi-gloss: Provides a shine but is not glass-like
- Satin/Pearl enamel: Somewhat shiny but stands up to moisture and frequent wiping
- Flat enamel: Almost no shine, but still cleanable, so it is a good choice for households with kids or pets
- Matte paint: Has no shine and is good for low-traffic areas, ceilings, or where there are lots of imperfections
How Do I Prepare a Room
Painting a room is one home improvement people often do on their own. You don’t necessarily need a professional, but inadequate paint prep will show and it will not go away. That’s why you must follow a few simple steps before adding the final coat of paint.
- Painter’s toolpainting tools
- 5-in-1 tool
- Drop cloth or plastic
- Sponge
- TSP
- Masking tape
- Bucket
- Spackling compound
- Drywall joint compound
- Caulking gun
- Rags
- Sandpaper
- Sanding sponge
- Primer
How Much Do I Need?
Interior painting generally doesn’t require much expertise. Many people do it on their own, but before you start it’s important to know how much paint to buy. The project’s exact scope depends on the size of the room and the surfaces you intend to paint. Generally, a painting project requires two coats or more. That’s something to consider when doing the math.
- About one gallon of paint will cover 350 square feet of wall in a single coat
- For unfinished, dark, or heavily patched walls at least two coats of paint are needed
- Unpainted drywall absorbs some paint, so you’ll need to buy a special primer
How To Paint a Room
Once you’ve chosen a color, acquired the paint you’ll need, and prepped the room, it’s time to do the actual painting. Now is when your walls and ceiling will become the color you desire. Assuming you’ve done the cleaning, patching, and priming, it is time to move forward.
- Paintbrushes
- Paint roller
- Roller extension poll
- Masking/painter’s tape
- Utility knife
- Paint bucket
- Work gloves
- Roller tray
- Screen
- Follow the same process and techniques used when applying primer
- Roll paint along edges to ensure consistency
- Feather out paint using a dry roller when you paint the ceiling (where wet edges are problematic)
- Wait until the first coat dries completely before adding a second coat (usuallytwo to four hours)
- Paint the trim first, then move on to the ceiling before painting walls
- Let the paint dry before cutting the tape
Paint Calculator
Before you or your contractor buy paint, find out exactly how much you’ll need. If more than one room is being painted with the same color, add up the total square footage.
PLEASE NOTE: These calculations are not intended to give more than a rough estimate. Precise paint needs will vary according to many factors, including application method. These calculations assume 2 coats of paint and do not include the ceiling.